The 2023 Scooter
A blog about my motorized scooter.
Introduction
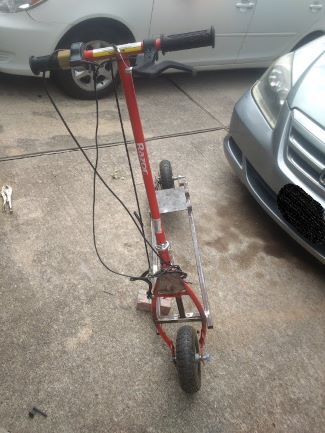
In the fall of 2021, me and one of my friend’s decided to create a motorized scooter, out of one of those kids pink razor scooters. Long story short this scooter was a mess! You couldn’t even walk this creation and have it roll smoothly. It would randomly jolt and twist while rideing it (without the engine on). It really was not a functional vehicle or toy and it was pretty dangerous. The sprocket would whiggle off when the scooter was running. See a picture bellow of the whole scooter.
</div>
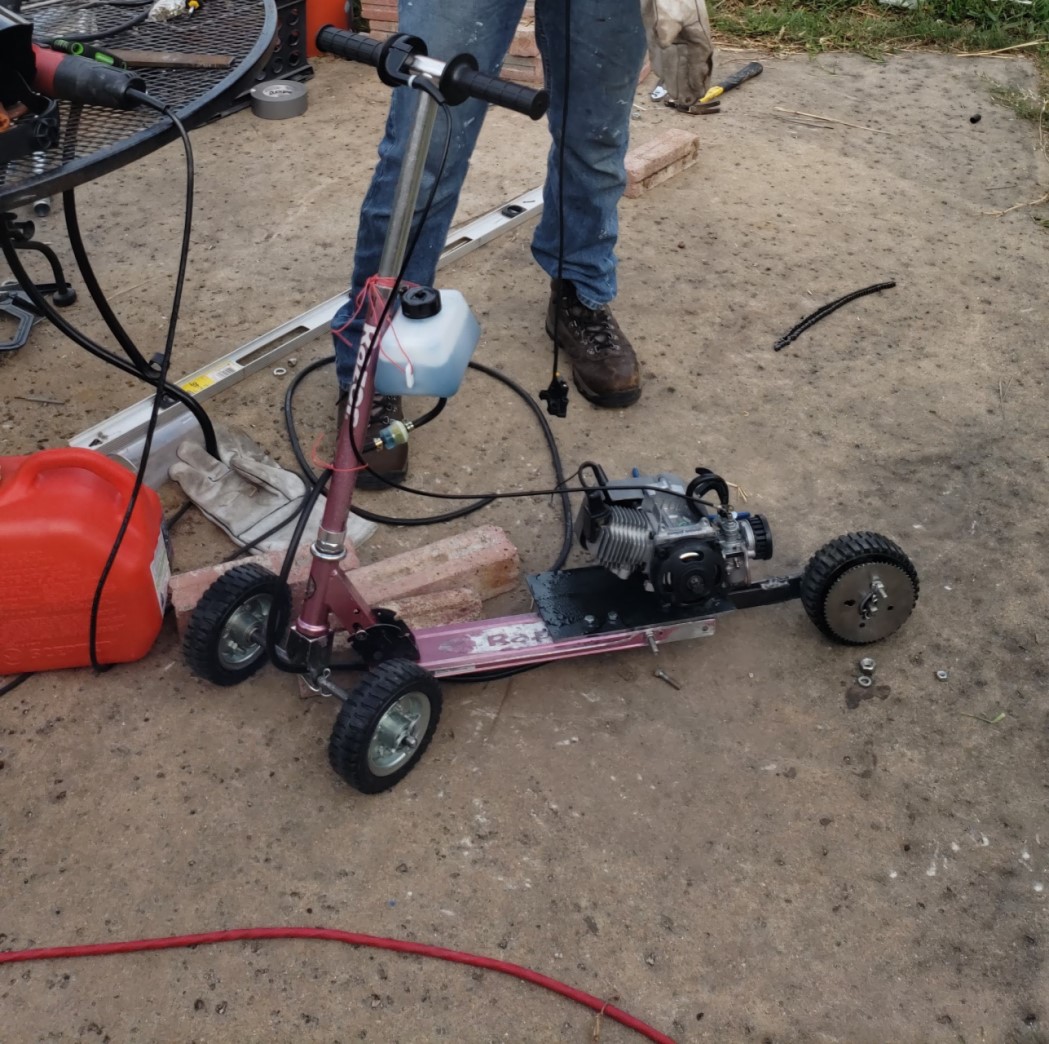
Bad pink scooter :(
Well while this scooter was a disaster I still had my mind set on createing my own ridable scooter. This is that story.
2023 Scooter
Frame
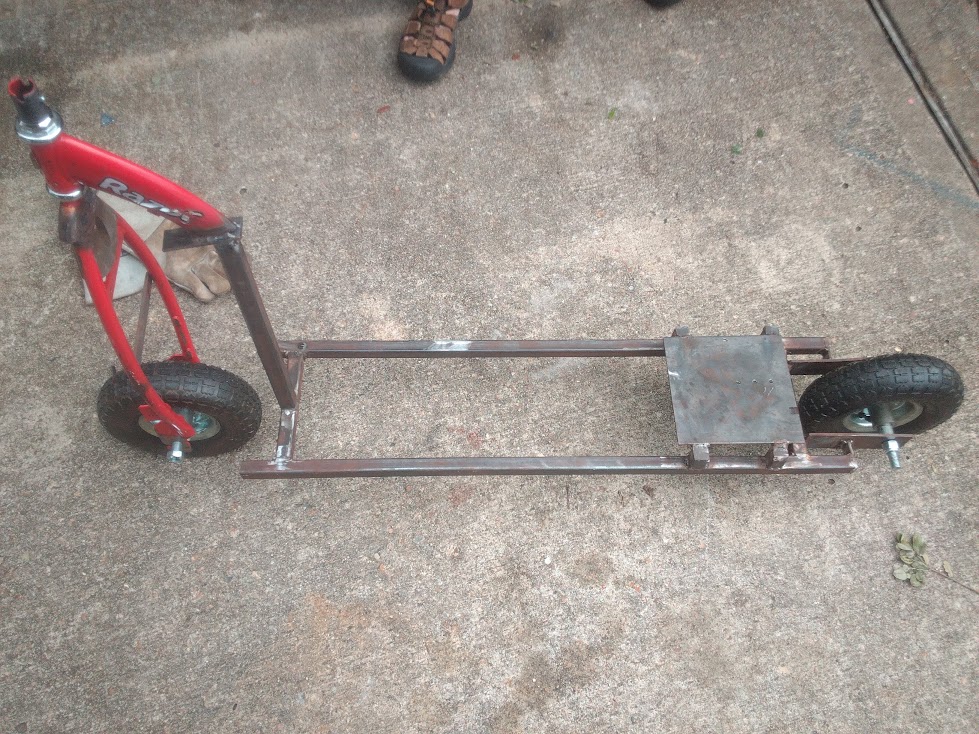
First the scooters frame was made out of 1” by 1” square steel tubeing 1/8in thick. This gave it more then enough rigidity. A picture of the frame is bellow.
</div>
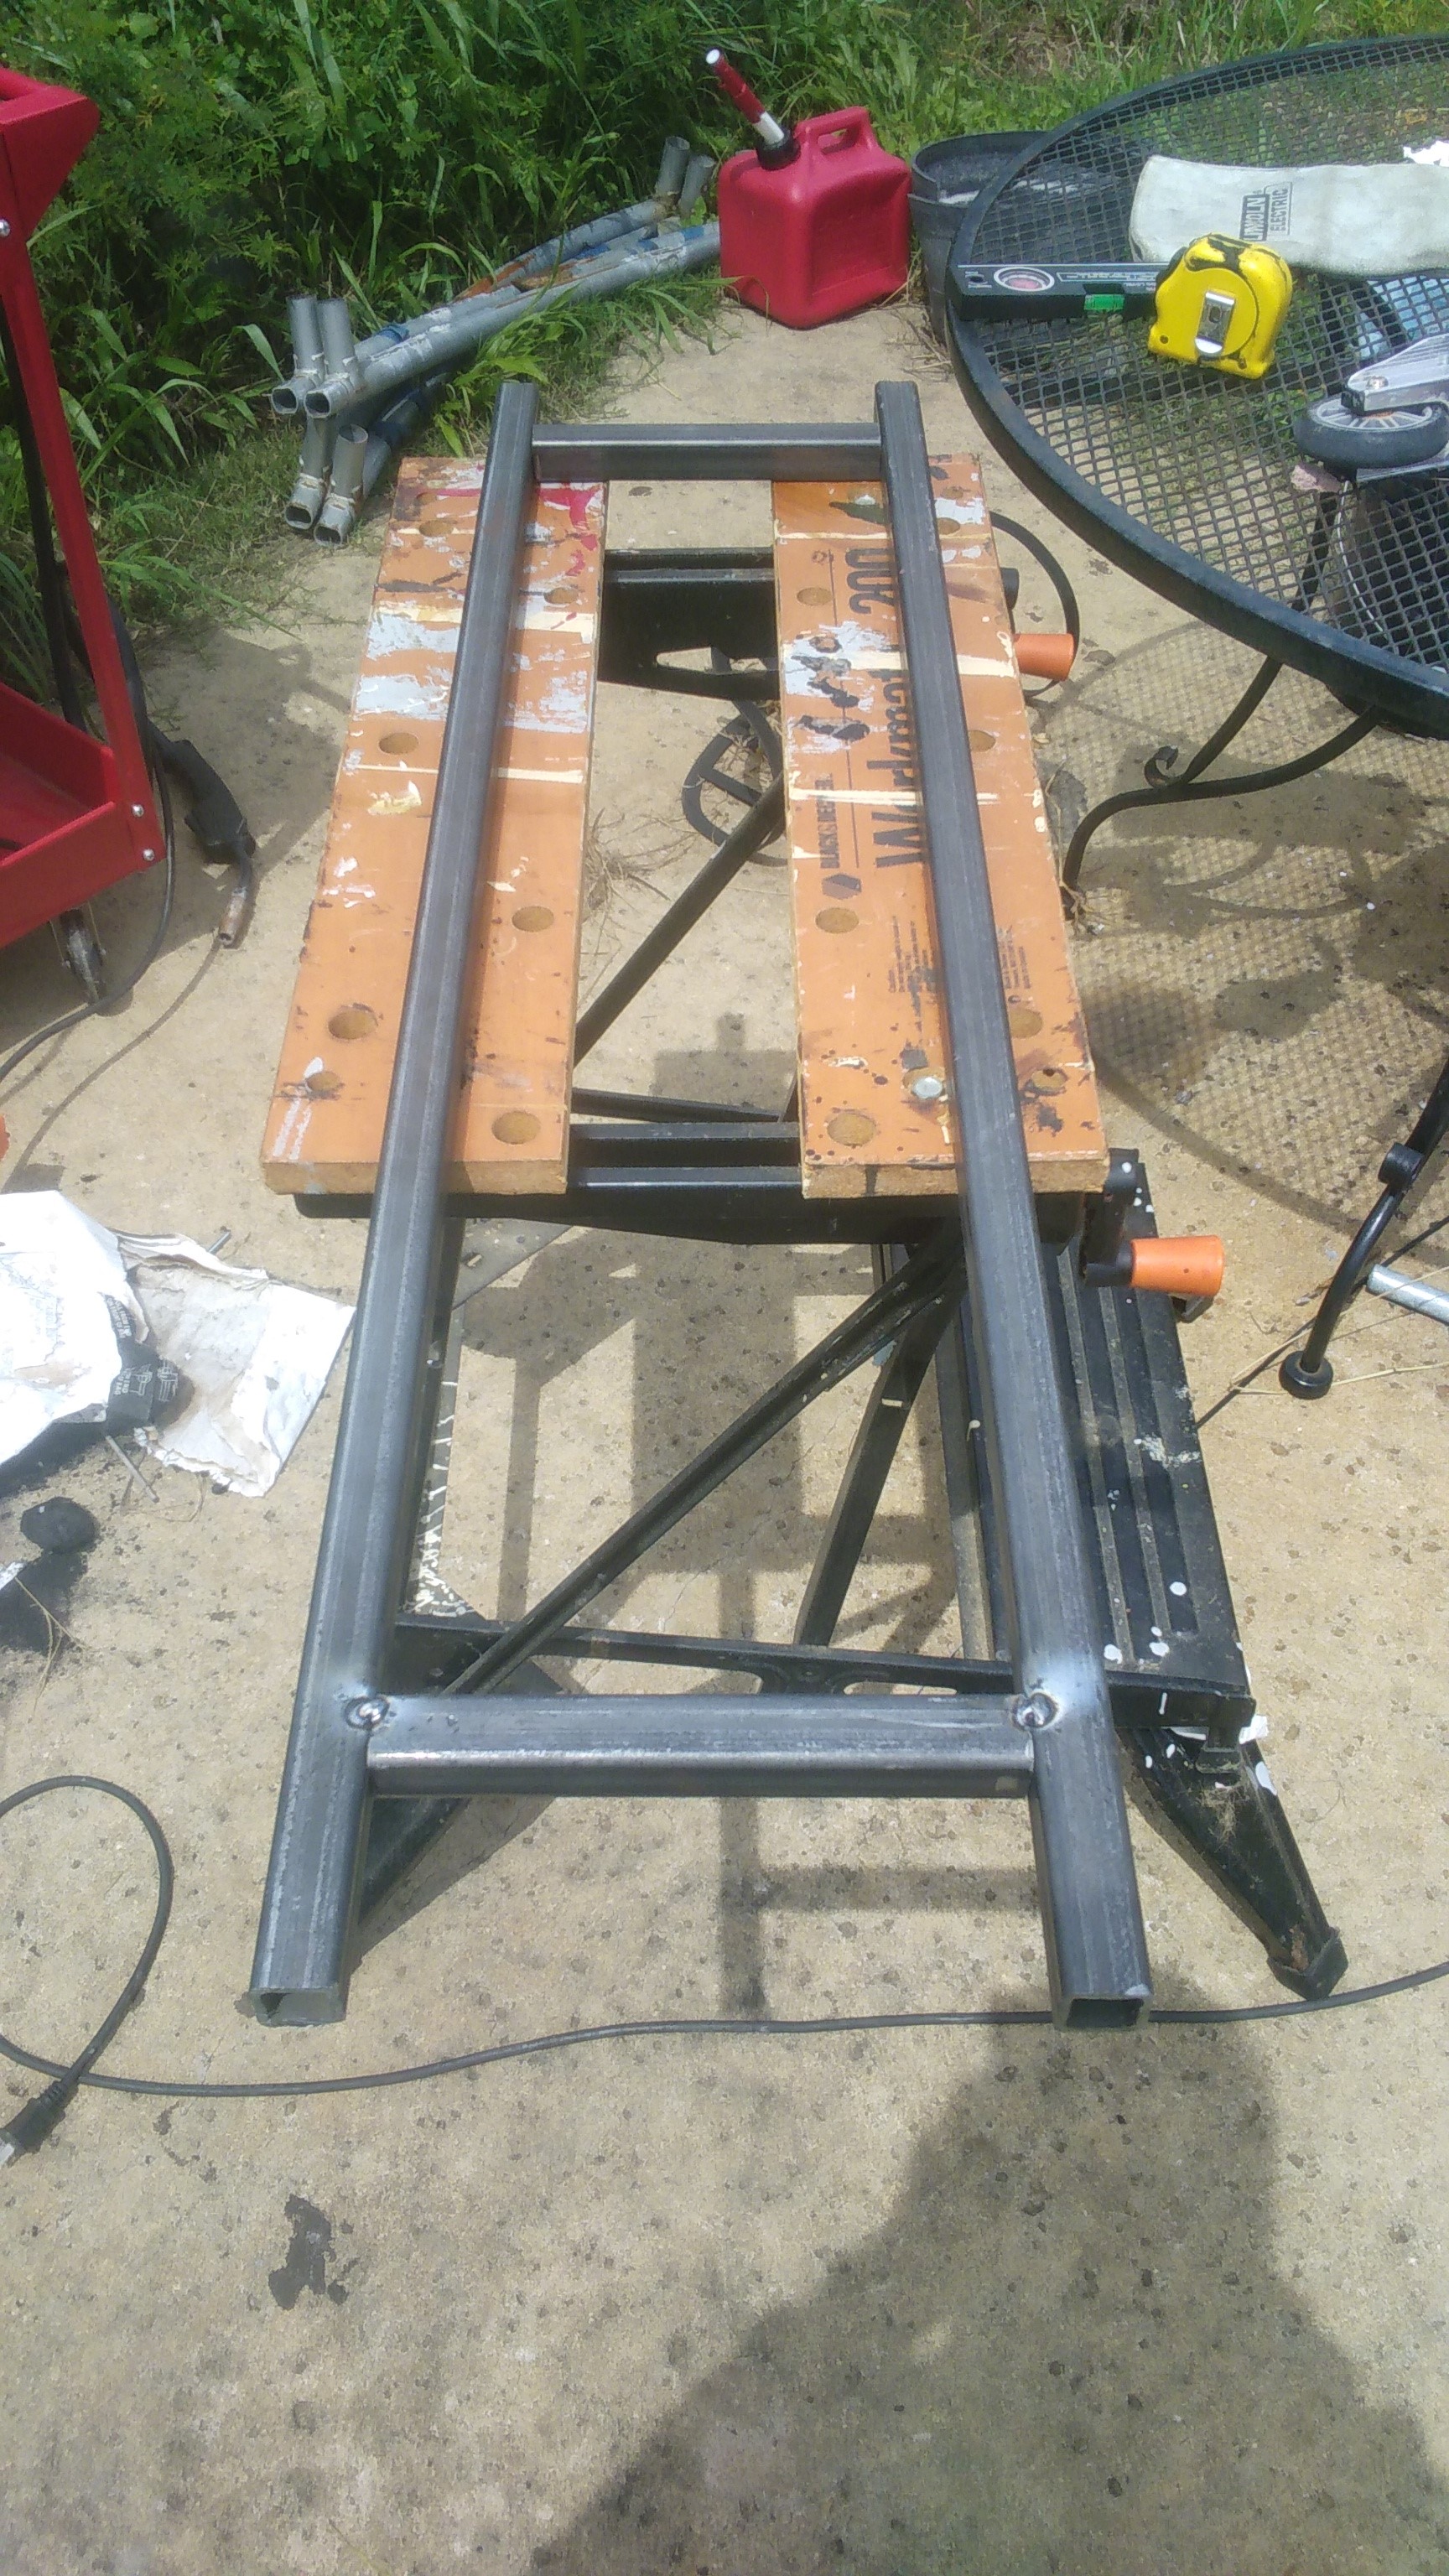
(Ignore the gas can in the back. My saftey standards have become alot better since then. ;~;)
Nothing special about the frame really. It is 10” wide measured from the outside of each tube. At the time of writeing this i cant remember if it is 4 feet or 4 1/2 feet long. Non the less that was more then enough room for my project.
Rear end
After I completed the entire frame the rear end was next. I dont really know much about workflow and where to start regarding diy vehicles but this was the right starting point looking back. The rear end for me was the most difficult part of this it had the most moveing parts and required the most precision, which isnt easy to get diy. First step was to extend the read end, as you can see in the frame my cross bars come in a bit this came useful when welding my extender. I welded a steel bracket to extend my rear end on ethier side. (That is what the flat stock is on the rear end picture.) Once I had completed the extension next up came the engine mount. The engine mount was pretty easy hardest part was making the risers level with just a angle grinder.
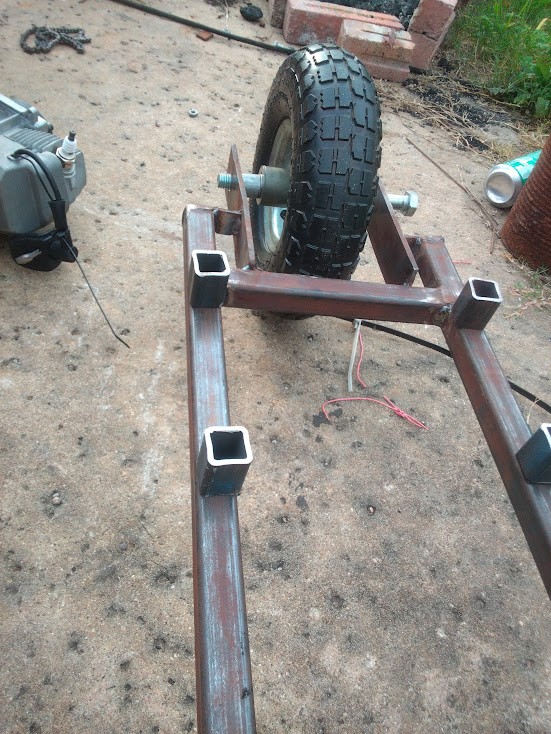
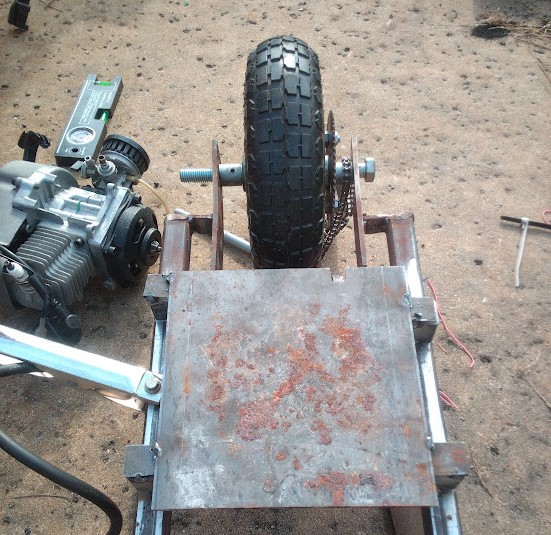
One more difficult part of the rear end was mounting the engine on the plate. I used a piece of paper and poked holes into it then loosely taped the paper on the engine. Once I had the engine aligned I taped the paper on the mounting plate and took the engine off of the paper. This allowed me to get semi accurate holes for drilling. If you are doing your own project I recomend you give some tolerance to this. But non the less the engine got aligned.
Front End
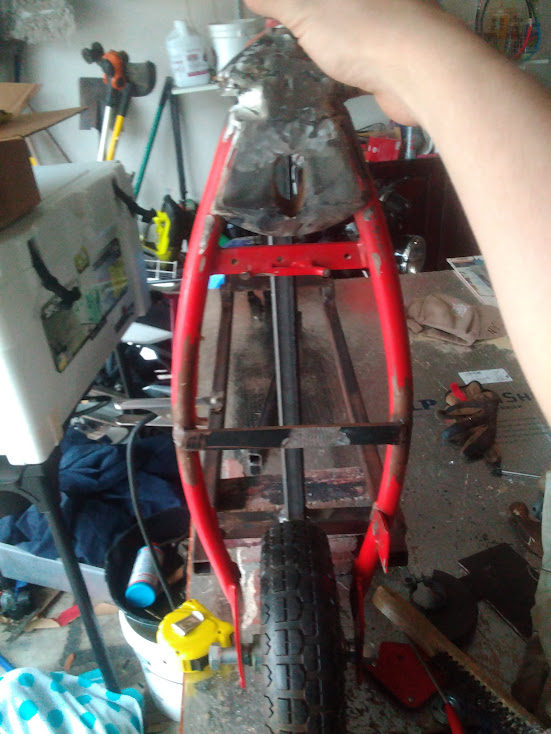
After the rear end was completed next step was the front end. This part of the project was probably the funnest and honestly most goofy part. For awhile I was wondering what I was going to do about my front end and how it will all work. Then out of the blue my aunt texted me that there were 2 electric razor scooters in her neighbors trash. They looked like the one in the image bellow.

After that text my parents went and picked them up. One pink one red. This gave me a eurika moment! The frame of one of those E scooters was the perfect size for a front fork on my gas scooter. Some welding and angle grinding later I pretty much flipped the frame 90 degrees. At this point my project had really turned into a mad max esk project As if it already wasnt.
