How I Made My Own Plastic
A step by step of me making Polystyrene from styrofoam
Disclaimer
This is for informational purposes only if you repeat these steps and processes it is at your own risk. Dont do this at home.
Intro + Definitions
In this project I polymerized Polystyrene (Polystyrene is the plastic that is used in styrofoam). My inspiration from doing this project was purely the urge to make my own plastic. After I took my high school chemistry course and learned the fundamentals I started to read about polymer chemistry over the summer and early fall of 2023. I then decided that I was going to make my own plastic. First I am going to talk about what polystyrene is and explain some of the concepts in this project. but before this let me explain, if you don’t already know, what a plastic and polymer is.
First a Plastic by definition from oxford languages is “a synthetic material made from a wide range of organic polymers such as polyethylene, PVC, nylon, etc., that can be molded into shape while soft and then set into a rigid or slightly elastic form.” That definition while it is a good one doesn’t really give you a visual of what a plastic is. In simpler terms a plastic can be pictured as a bowl of spaghetti noodles. Each noodle being its own macromolecule (Definition below) of the polymer. All of these spaghetti noodles are entangled in each other and held together by atomic forces to form a solid that is used in everyday life. One more thing I need to define is what a polymer is and some other definitions relating to plastics. I figured It would be better if I listed the other definitions for the rest of this post so they are below.
Macromolecule: A molecule containing a very large number of atoms, such as a protein, nucleic acid, or synthetic polymer.
Monomer: One part of a polymer. Mono meaning one and Mer meaning part.
Polymer: A long chain of monomers connected to each other by chemical bonds. Poly meaning many Mer meaning part.
Thermoplastic: Polymers that can be softened through heating before being processed and then left to cool and harden. Once cooled, they show no changes in chemical properties, meaning they can be re-melted and re-used several times. Ie. acrylic, polyester, polypropylene, polystyrene, nylon and Teflon
Thermoset: A material, like a plastic or resin, that hardens permanently after one application of heat and pressure. This plastic can not be reformed through heat repeatably.
Polymerization: Is a process through which a large number of monomer molecules react together to form a polymer.
Pyrolysis: The process of thermal degradation of materials at high temperatures.
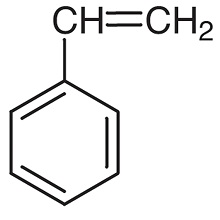
Styrene: A molecule which contains a vinyl group as substituent on benzene. Here is a drawing of it below:
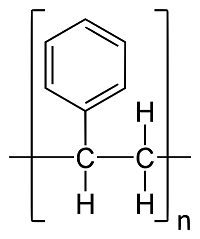
Polystyrene (Pol- y - sty - rene): A ton of styrene molecules bonded together to form a polymer. This polymer is Polystyrene
Hydrocarbons: A compound of hydrogen and carbon, such as any of those which are the chief components of petroleum and natural gas.
(Most Definitions found from Oxford Languages)
Procedure
Preparation Required
First before I even began I had to get enough Polystyrene(PS). I obtained this through many ways but the most effective was dissolving styrofoam in Acetone and then letting the plastic dry out over a couple days. This obtained in my opinion the best set of my Polystyrene. Below are a few pictures from this process. The slime of plastic is REALLY fun to play with. Just a disclaimer the Acetone will dissolve nitrile gloves (I learned this the hard way).
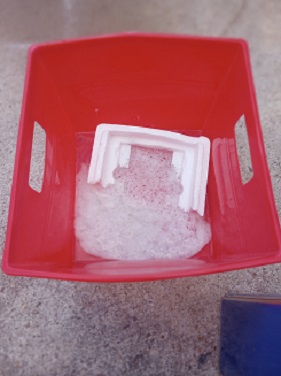
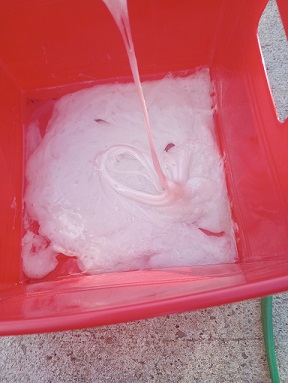
Once I had all of my PS prepared I broke it all into small chunks and stored them in a box.
After preparing the PS I had to create my first distillation set up. You could do this with glassware but it will be a pain to clean out and I ruined a 1000ml Boiling flask by doing it in glassware. My first apparatus was a 1qt paint can with a brass tube soldiered on it. You can get your paint can from good ol’ sherwin williams. And the tube from anywhere. If I were to do this again I would use a aluminum tube however. The brass to aluminum soldering was really difficult and took me many tries to get right and didn’t really work well (Whether its a skill issue with me or the material I don’t know but probably the former). Here is a picture of the still.
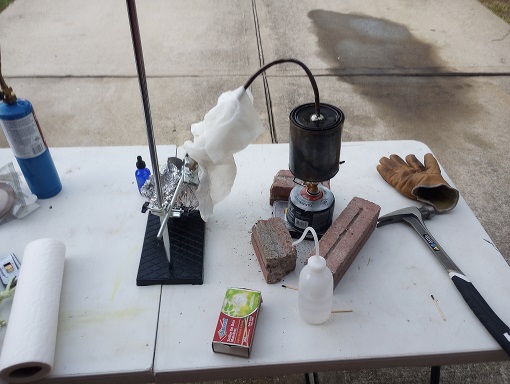
The paint can still was set on top on a backpacking stove for the first distillation.
The second distillation is just normal glassware and a thermometer a picture of the setup is below
First Distillation for Crude Styrene
The first distillation was done with the paint can still. I filled up the paint can with PS and cranked the heat to max. After about 12mins of heating I got my first bit of products come over. You have to constantly keep refiling the paint can and when you are done filling it make sure it is air tight. I added PTFE tape around the lid and it worked pretty well. After 30mins the solder on the still melted and ruined it. I think this is because when the PS ran out in the paint can it got extremely hot and melted the solder. To stop that from happening It would have helped to add smaller amounts and then stop every 20mins to check the amount of PS in the can. I collected 78 grams of crude styrene out of a total of 166g. I have pictures of my products bellow.
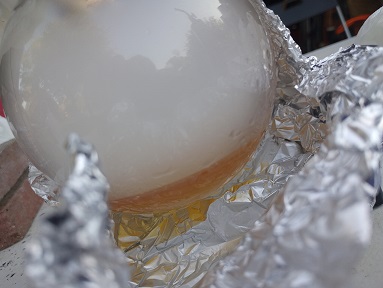
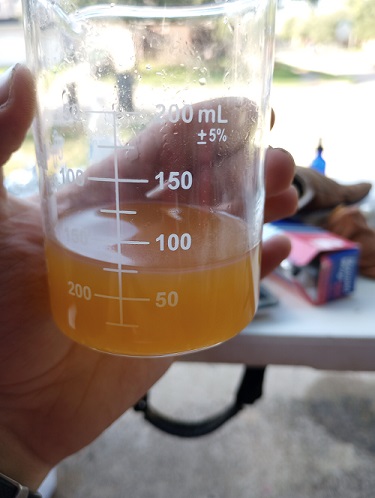
Side Crude Styrene Experiment
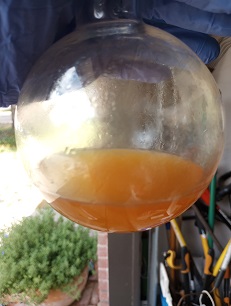
I read this paper “Recovery of Styrene Monomer From Waste Polystyrene Using Catalytic Degradation.” link here The paper used bases to help with increasing the styrene yields. I did the same distillation again but with a large amount of MgO added. The product from this distillation was much more clear then the first run. A picture of my Mgo Run product is below but you can not tell much of a difference so just trust me bro.
First Styrene refinement (Failed)
The second distillation was done with a liebig condenser. Set up below.
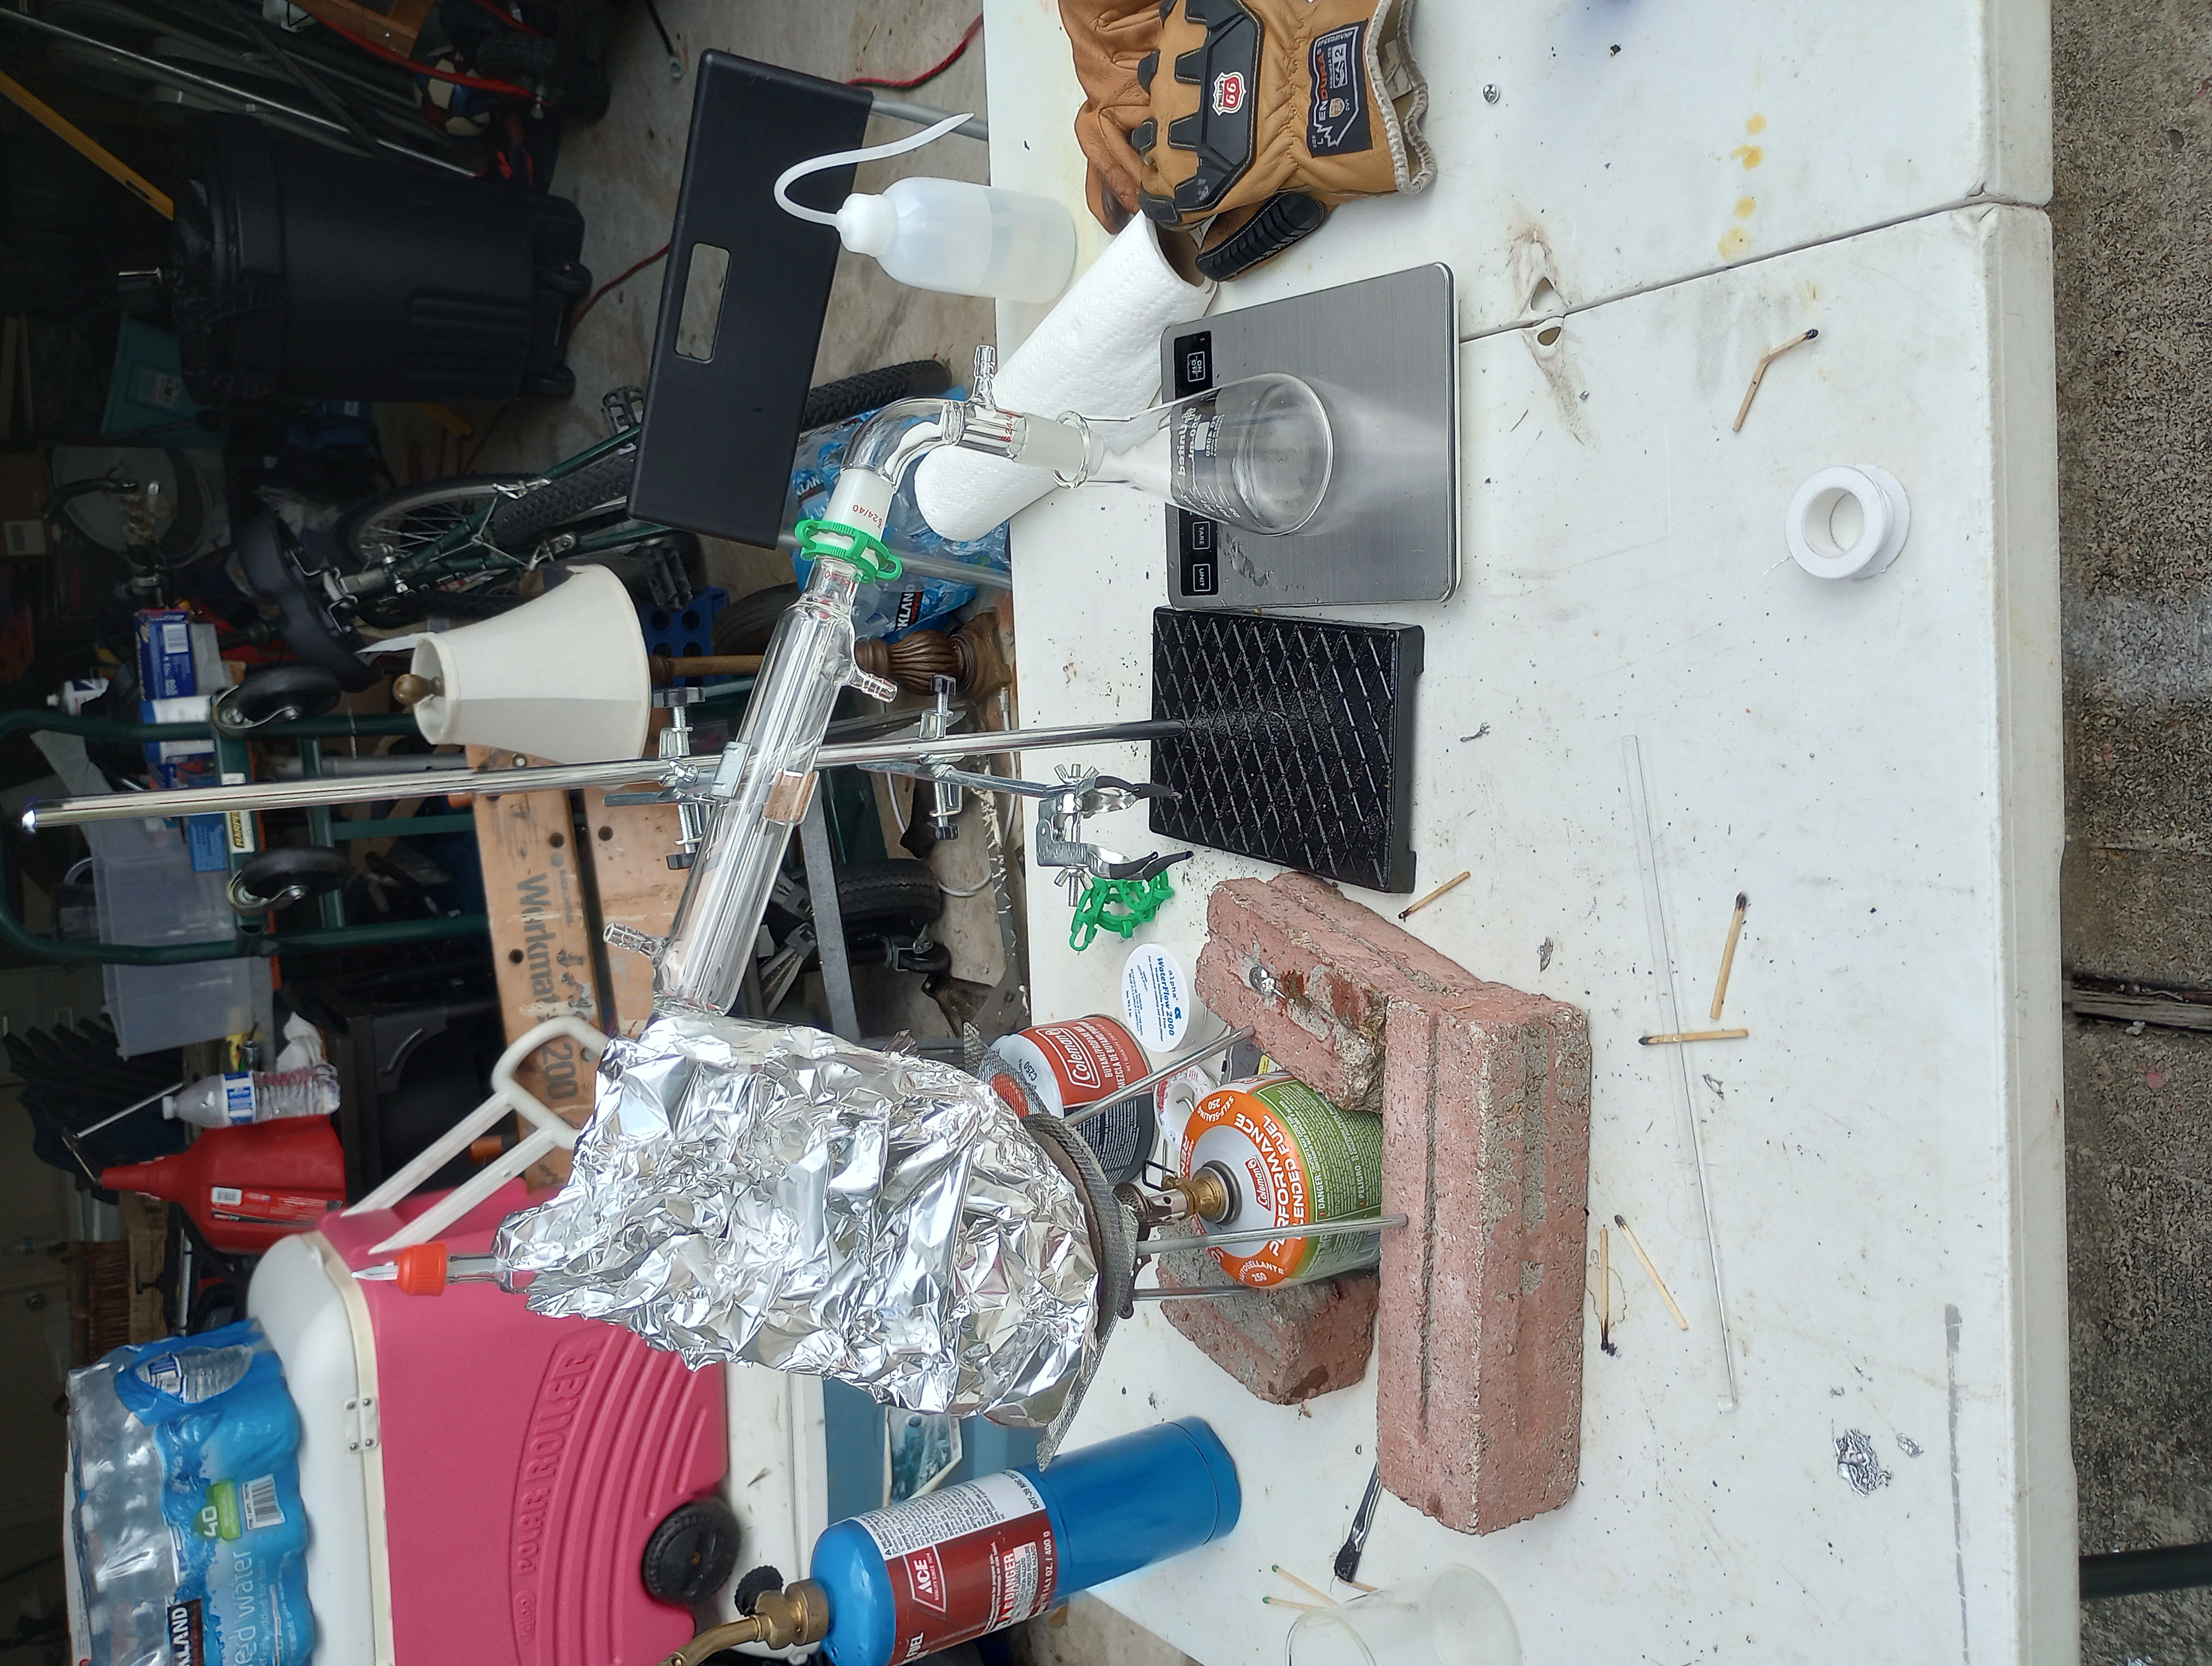
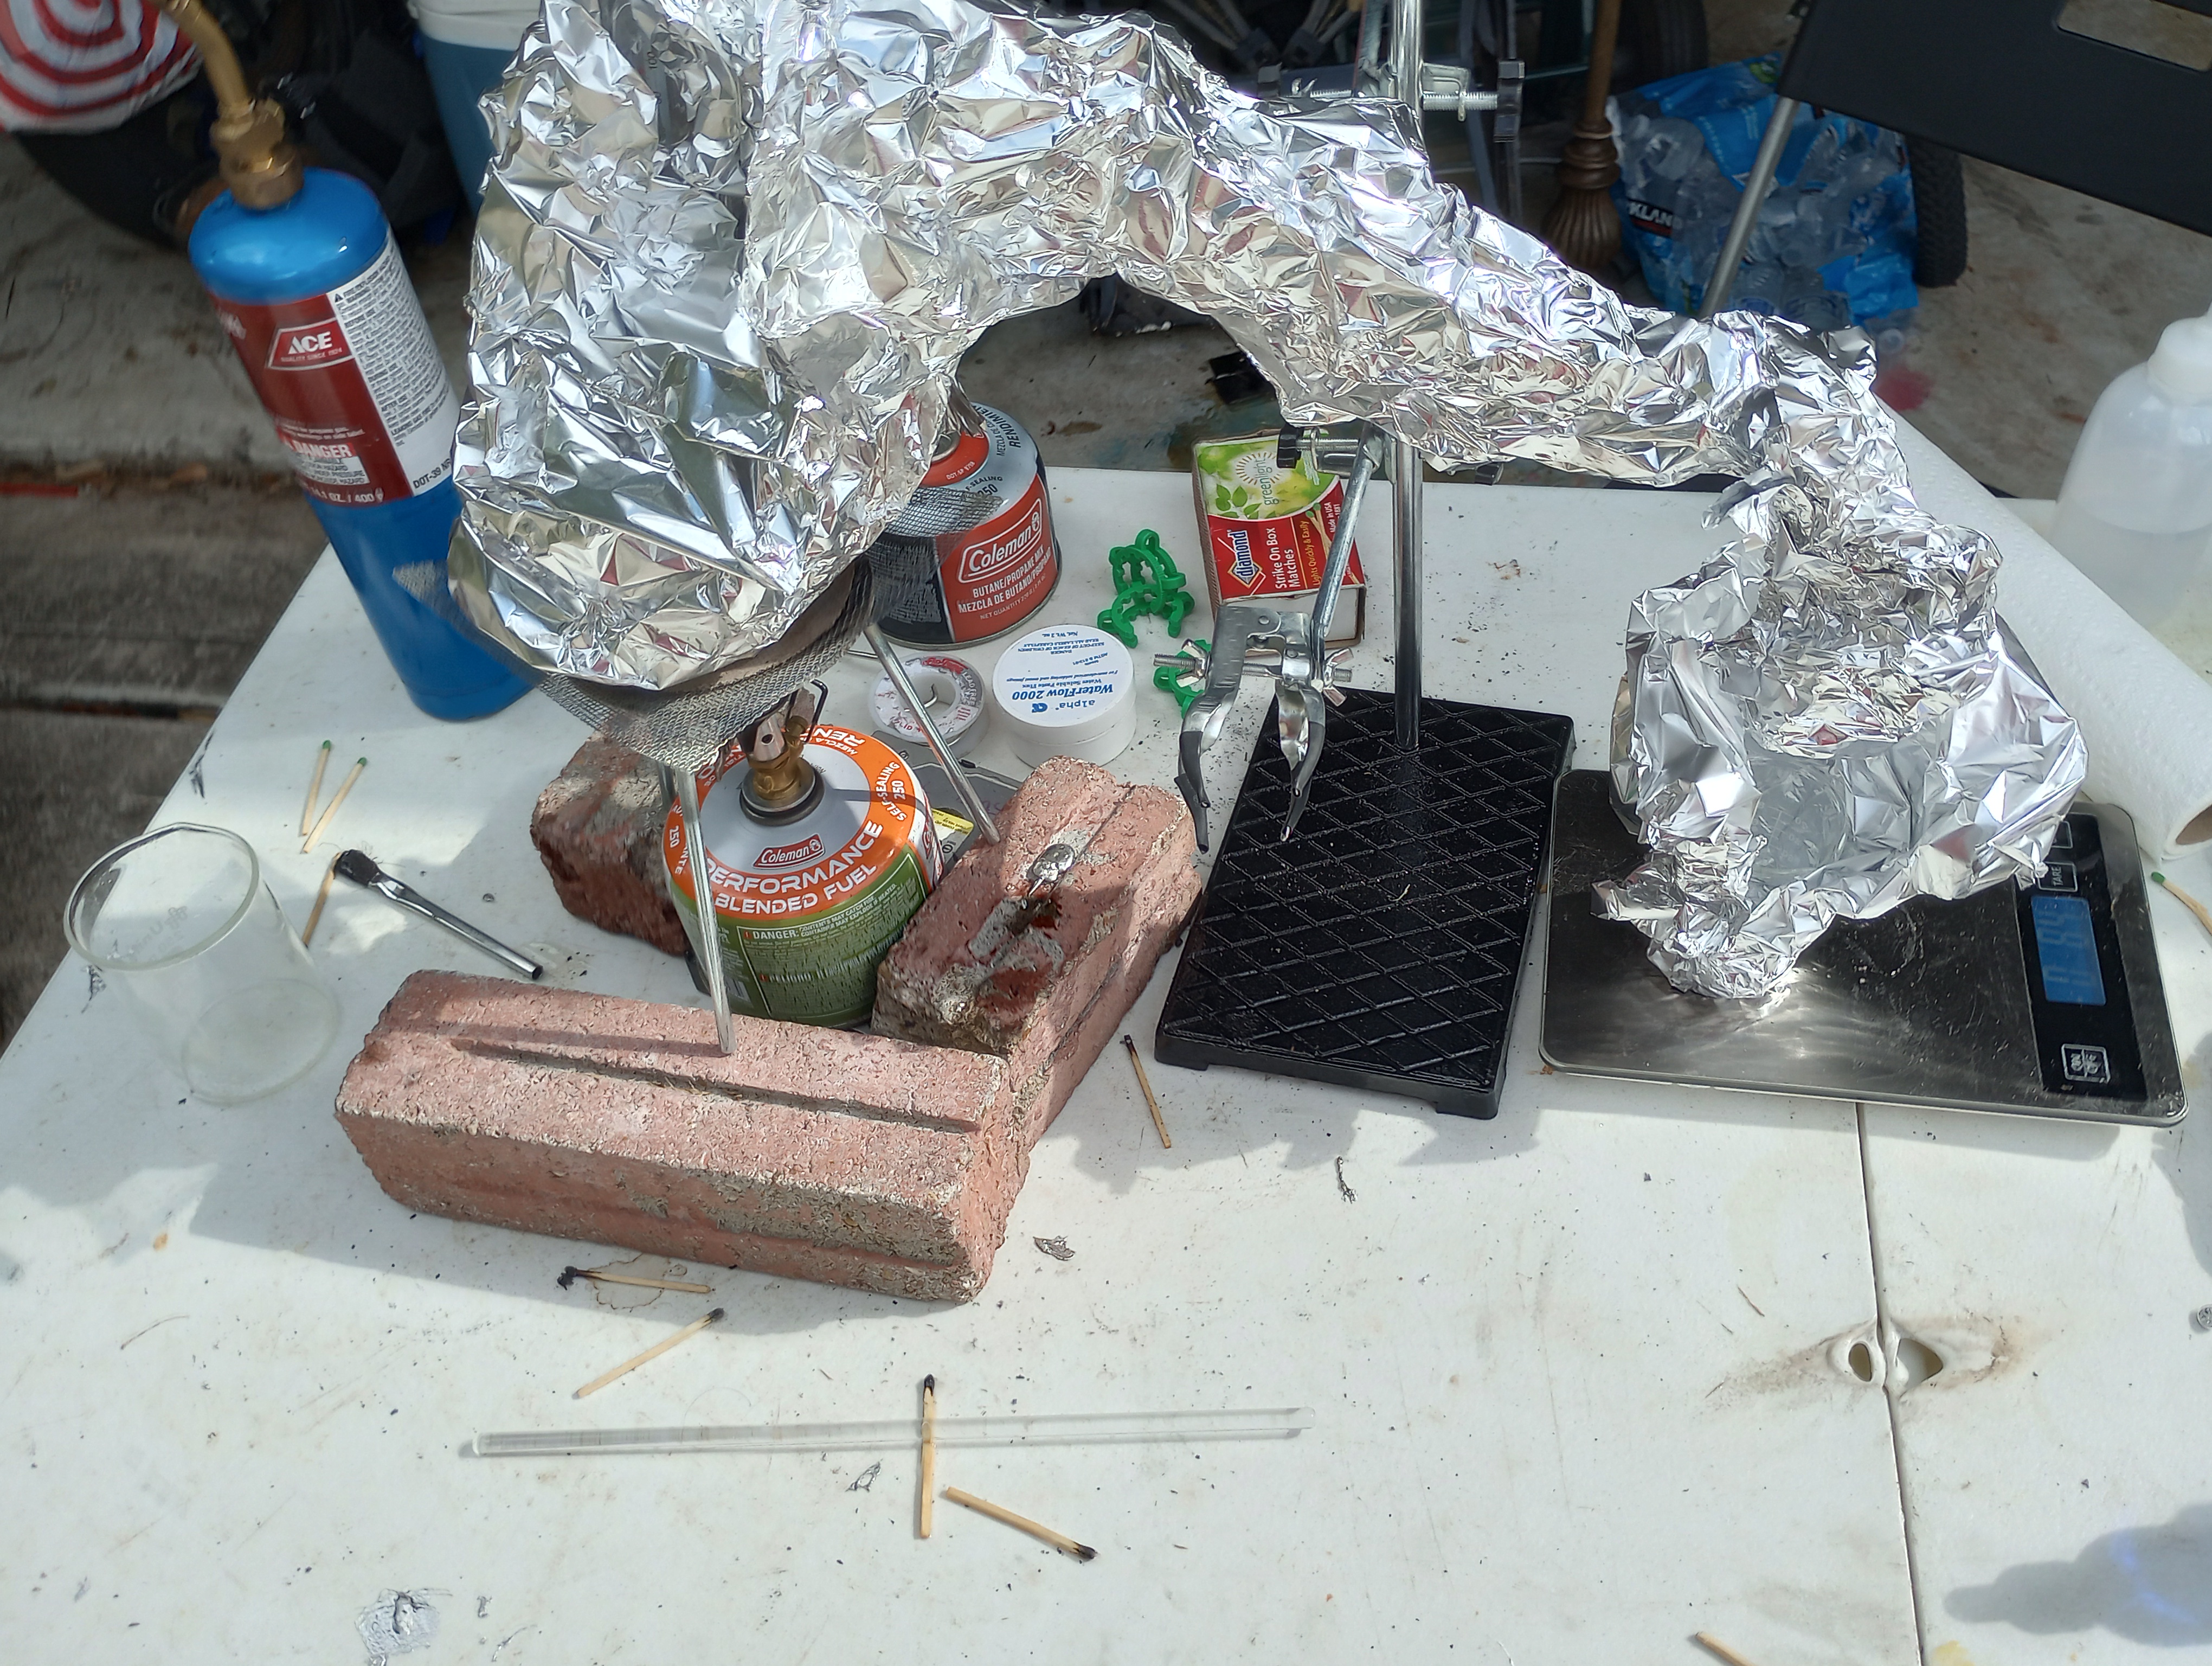
For this distillation I combined both products from my MgO crude styrene distillation and the distillation without it. I had in total 148g of crude styrene to distill over. I added all of my crude styrene to a 500ml boiling flask with a thermometer in it. The heat was turned on and the first products came over at 80C. What I was looking for is 140-150 C. The first few products such as water and random hydrocarbons were put into a beaker and then put into my toxic waste container. Once I hit the boiling point of styrene I quickly changed the beaker over to a smaller beaker to collect all of my styrene. ANNNND the time comes to collect all of my work over the last two hours. Which turned out to be only a few drops. I was so depressed from this yield that I didn’t even calculate it. On top of this I let it run a bit longer then it should have and I got some impurity’s in my styrene. I thought that I could still polymerize it into polystyrene but when I added my initiator nothing happened…
Disappointed and frustrated I cleaned up everything and was determined to try again after a couple hours. As I was in the shower after the first run I had a eureka and the most frustrating thought! I completely forgot to add heat to my original styrene polymerization!!!!!!!!!! Which is the reason it failed. You need heat to break down the initiator to form radicals which start the reaction! After the realization I went back outside and decided to make another set of crude styrene.
Second Crude Styrene Run
This second crude styrene distillation I did was in my 1000ml boiling flask. I painstakingly broke all of my pieces and stuck them into the flask. I set up the distillation again and tried again. THIS WAS A BAD DECISION!!! I should have completely avoided putting your PS into glassware!!! I ruined my flask and acetone does nothing to this waste in the flask. Picture below:
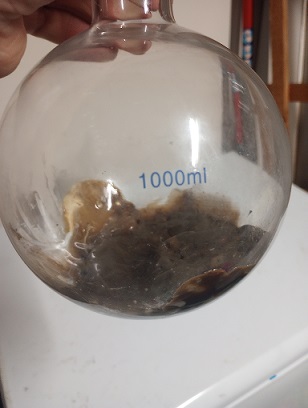
Back on track now with the rest of my PS pieces in my Boiling flask I put it on my diffuser and cranked up the heat. First product came around 12mins and I waited until no more product came over. This time the yield from my boiling flask was similar to the previous two runs. Picture of the setup bellow
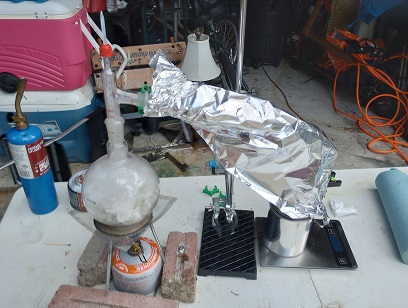
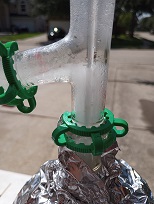
** I also broke my thermometer some how from this I think when I removed it there a small amount of water on the table and shocked it. But nonetheless I just ran to walmart and got a cooking thermometer that breaks after you heat it past 160C.
The crude styrene was stored overnight and the next morning I went and did my final distillation.
Second Styrene Refinement
The second styrene refinement followed the same procedure as the previous. However for this run I think it had to do with the glassware and better setup I got more styrene product. This time as well it stayed in the 140-145 temp range much longer then before. And I had quite a bit more styrene. About 10ml or so.
Polymerization
My initiator was added and the styrene was heated on my hot plate. For some reason when my plate got hot the friction on it decreased which led the dish to slide and fall off (could also be the fact it wasn’t level and my table was crooked ;-;). I only lost a little bit but it was still a lost. Plus I had a chemical spill to clean up after. But none the less I had a nice dish with styrene polymerized on it.
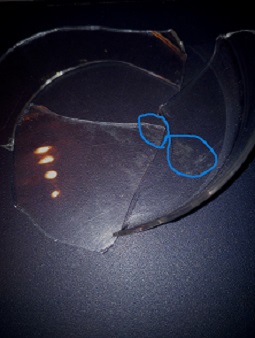
Once I took it off the heat I let any residues evaporate and the plastic was ready. It is only a small film on the glass and is very difficult to see on camera.
(I was cleaning the garage and my dish fell and shattered into tiny pieces of heartbreak and sadness so this pic is from one of the recovered pieces.)
Chemical Reactions
This section is very nerdy I go over the reactions takeing place and the chemistry behind this project.
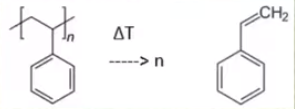
The first reactions takeing place is the polystyrene from our first distillation which decomposes to styrene. Some other side reactions take place but theses are not important. A picture of this reaction is below
The next and more important reaction is the actually polymerization of PS. There are many types of polymerization’s you can do but for this case I will be doing what is called a “free radical polymerization”. What that means is a initiator is added to the styrene and creates what are called “radicals”. Radicals are very reactive to other substances because they have unpaired electrons. Well we need something to get theses radicals from. I used MEKP (Methyl Ethyl Ketone Peroxide) as my initiator. There many other types of initiators for polystyrene and other plastics but I chose this cause I could order it on amazon.
The way free radical initiators work is when they are exposed to heat or light they quickly produce radicals. These conditions (light or heat) allow enough energy for bond dissociation energy which breaks apart the initiator and creates a radical. Reaction Below.

Now that we know about radicals lets talk about how a polymerization works more specifically a free radical polymerization.
Once the initiator forms a radical these radicals need to quickly combine with another atom/molecule which in our case is styrene. Check out the picture below and I will explain what is happening in more detail.

This picture is showing a polymerization reaction with styrene. The first figure shows a radical reacting onto the styrene molecule. Once the radical reacts to the styrene molecule that styrene molecule has its own radical which then reacts to another styrene molecule and the process repeats over and over until it gets terminated or there is nothing else to react to.
What is interesting is that since there are thousands of radicals in just a small sample of initiator this reaction is takeing place all over the substance. After some time and the reaction is complete we get a spaghetti of molecules that are all bonded together to form a solid.
These are the main two reactions takeing place if I got something wrong comment below.
Conclusion
This project is the one I am most proud of so far. It took me a entire summer to study and learn enough to feel confident in doing this project. While ultimately I didn’t get the yields I wanted. I still at the end of the day taught myself basic polymer chemistry which is something I feel I can be proud of. The next project relating to polymers is making my own PET (Polyethylene terephthalate) this plastic is used in water bottles most commonly. Thank you for reading I hope you learned something and I peaked your interest in plastics.
Thank you to Thylabs and Apoptosis for the youtube videos I watched. And Thylabs again for the pyrolysis reference picture.
Apoptosis: https://www.youtube.com/@integralchemistry1849
ThyLabs: https://www.youtube.com/@THYZOID